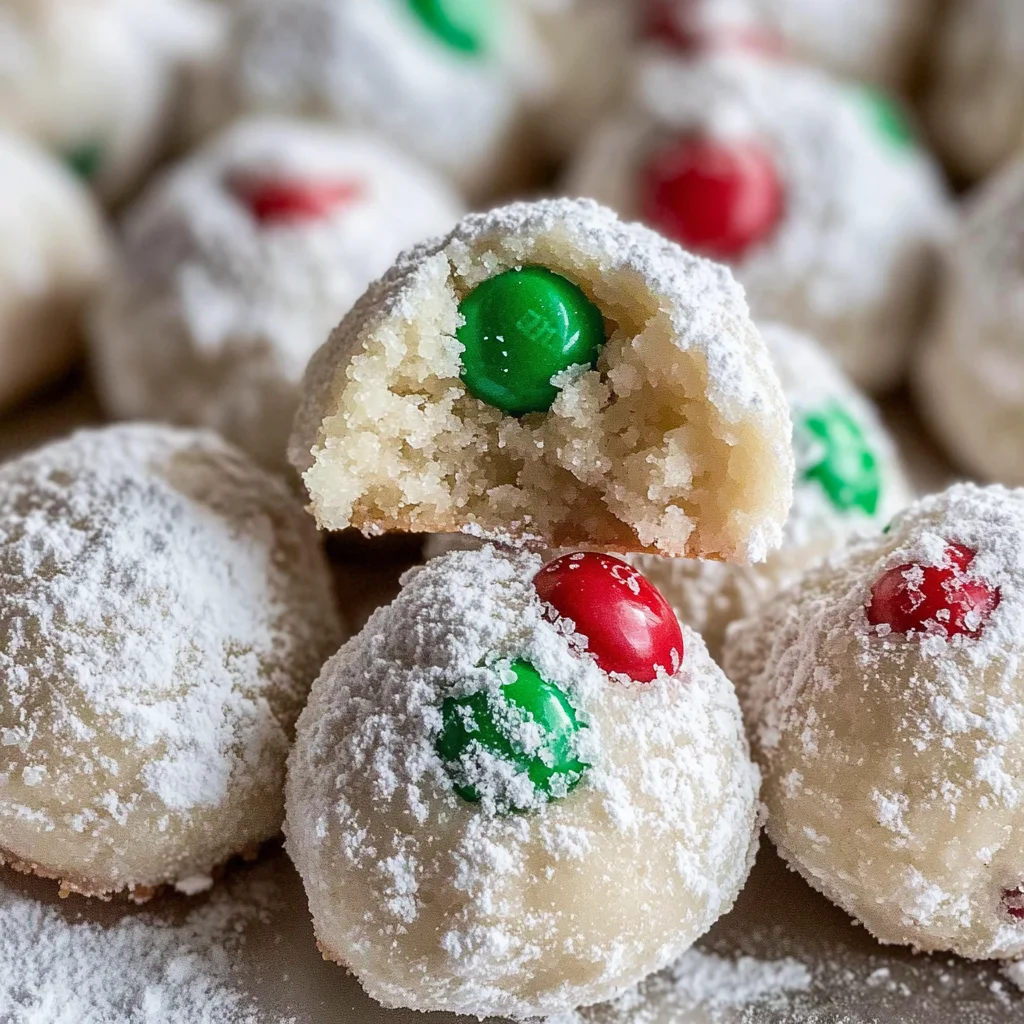
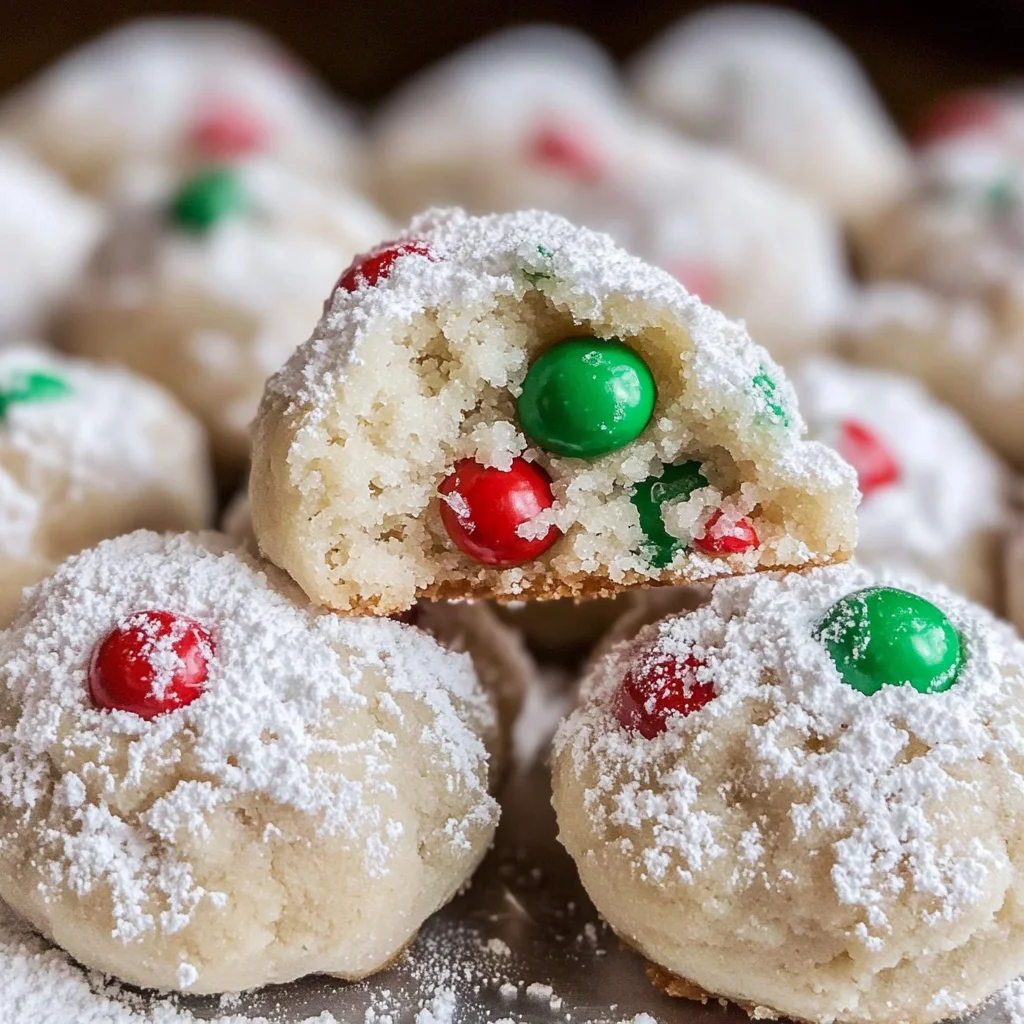
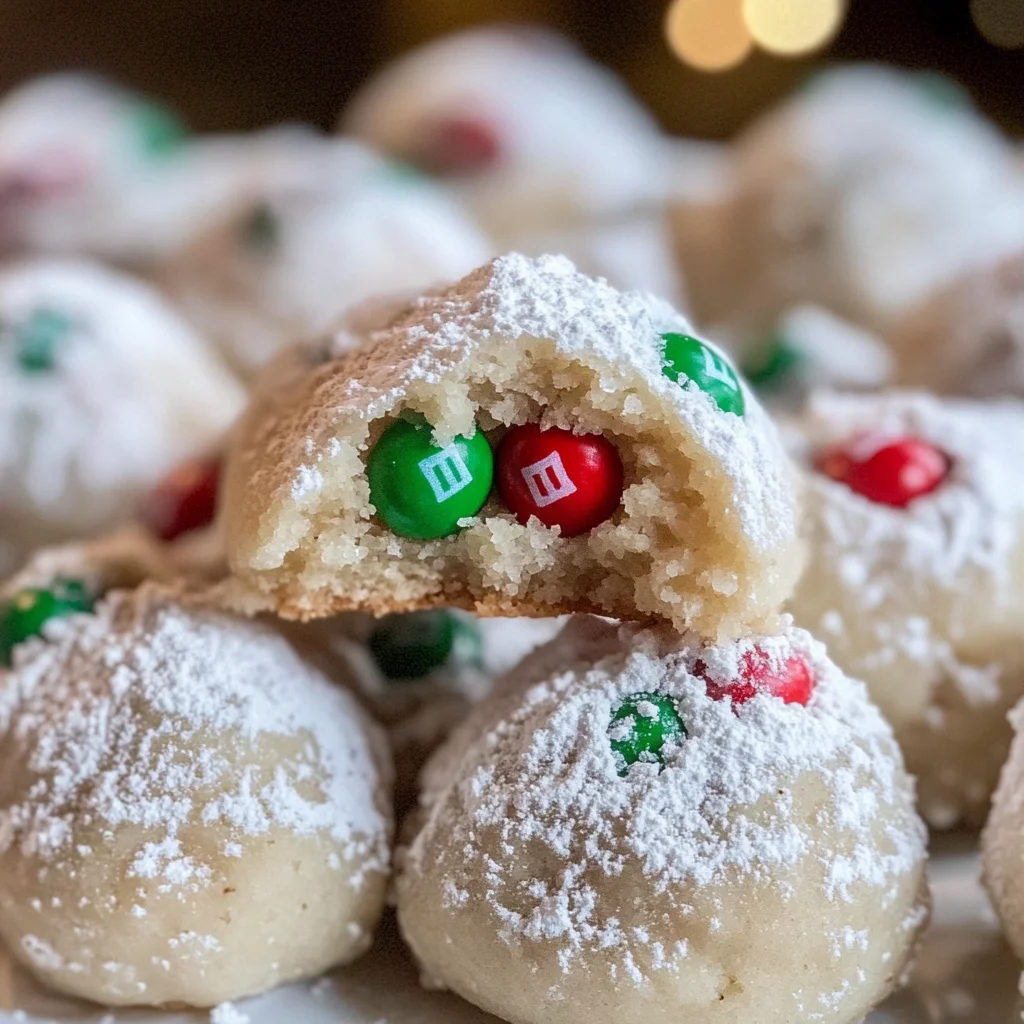
Christmas Snowball Cookies are a delightful treat that captures the spirit of the holiday season. These cookies are not only visually appealing with their vibrant red and green M&Ms but also incredibly easy to make. Perfect for festive gatherings, gift-giving, or simply enjoying with family, this classic cookie recipe is sure to become a favorite in your home. The soft, buttery texture combined with the sweet crunch of chocolate makes these cookies irresistible.
Jump to:
- Why You’ll Love This Recipe
- Tools and Preparation
- Essential Tools and Equipment
- Importance of Each Tool
- Ingredients
- For the Dough
- Dry Ingredients
- Add-ins
- How to Make Christmas Snowball Cookies
- Step 1: Preheat the Oven
- Step 2: Prepare the Dough
- Step 3: Scoop and Shape Cookies
- Step 4: Bake Your Cookies
- Step 5: Cool and Coat
- How to Serve Christmas Snowball Cookies
- With Hot Beverages
- As Party Favors
- During Holiday Gatherings
- How to Perfect Christmas Snowball Cookies
- Best Side Dishes for Christmas Snowball Cookies
- Common Mistakes to Avoid
- Storage & Reheating Instructions
- Refrigerator Storage
- Freezing Christmas Snowball Cookies
- Reheating Christmas Snowball Cookies
- Frequently Asked Questions
- What are Christmas Snowball Cookies?
- Can I customize my Christmas Snowball Cookies?
- How do I make these cookies gluten-free?
- How do I store leftover Christmas Snowball Cookies?
- Final Thoughts
- 📖 Recipe Card
Why You’ll Love This Recipe
- Easy to Make: With just a few simple steps, you can whip up a batch of delicious cookies without any fuss.
- Customizable: Use any color mini M&Ms to suit different occasions or holidays, making them versatile for year-round enjoyment.
- Fun for Kids: Involve your little ones in the kitchen! Rolling the cookies in powdered sugar is a fun activity for everyone.
- Perfect for Gifting: Package these cookies in a decorative box for thoughtful homemade gifts during the holiday season.
- Freezer Friendly: Make ahead of time and freeze! These cookies maintain their flavor and texture even after freezing.
Tools and Preparation
Before you start baking Christmas Snowball Cookies, gather all necessary tools. Preparing ahead will make the process smooth and enjoyable.
Essential Tools and Equipment
- Electric mixer
- Baking sheets
- Parchment paper
- Mixing bowls
- Cookie scoop
- Wire rack
Importance of Each Tool
- Electric mixer: Saves time and energy when mixing butter and sugar until fluffy, ensuring a well-combined dough.
- Cookie scoop: Helps create uniform-sized cookies that bake evenly for consistent results every time.
- Wire rack: Allows proper cooling of cookies after baking, preventing sogginess by letting air circulate around them.
Ingredients
For these delightful Christmas Snowball Cookies, gather the following ingredients:
For the Dough
- 1 cup (226g) unsalted butter (slightly softened)
- ½ cup (57g) powdered sugar (do NOT pack your powdered sugar)
- 1 teaspoon vanilla
Dry Ingredients
- 2 ¼ cups (279g) all-purpose flour (do NOT pack your flour)
- ½ teaspoon salt
Add-ins
- 1 cup mini M&Ms (any color)
- Additional powdered sugar (for rolling)
How to Make Christmas Snowball Cookies
Step 1: Preheat the Oven
Preheat your oven to 350°F (175°C). Line two cookie sheets with parchment paper to prevent sticking.
Step 2: Prepare the Dough
- In a mixing bowl, combine the slightly softened unsalted butter, ½ cup powdered sugar, and vanilla.
- Using an electric mixer, beat until fluffy.
- Gradually add in the flour and salt while mixing until it forms a cohesive dough.
- If needed, use your hands to bring it together completely.
- Stir in the mini M&Ms until evenly distributed.
Step 3: Scoop and Shape Cookies
- Using a cookie scoop or tablespoon, portion out balls of dough.
- Place them on the prepared cookie sheets about 2 inches apart.
Step 4: Bake Your Cookies
Bake in the preheated oven for 8–10 minutes or until the bottoms are lightly browned.
Step 5: Cool and Coat
- Remove from oven and allow to cool on the baking sheet for about 5–10 minutes until they are cool enough to handle.
- While warm, roll each cookie in additional powdered sugar until coated.
- Transfer to a wire rack to cool completely.
These Christmas Snowball Cookies can be stored in an airtight container at room temperature or frozen for up to one month! Enjoy sharing this festive treat with friends and family!
How to Serve Christmas Snowball Cookies
These delightful Christmas Snowball Cookies are perfect for sharing during the holiday season. They can be enjoyed in various ways that enhance their festive charm.
With Hot Beverages
- Coffee – Pair these cookies with a warm cup of coffee for a cozy afternoon treat.
- Hot Chocolate – The sweetness of hot chocolate complements the sugary coating of the cookies beautifully.
As Party Favors
- Gift Bags – Place a few cookies in decorative bags as homemade gifts for friends and family.
- Cookie Platters – Arrange them on a festive platter with other holiday treats for a stunning dessert table.
During Holiday Gatherings
- Dessert Table – Feature these cookies prominently on your dessert table at holiday parties.
- Cookie Exchange – Share these cookies during cookie exchange parties, showcasing your baking skills to loved ones.
How to Perfect Christmas Snowball Cookies
Achieving the perfect Christmas Snowball Cookies requires attention to detail and care in preparation. Here are some tips to help you get it just right.
- Chill the Dough – Refrigerate the dough for about 30 minutes before baking. This helps the cookies maintain their shape while baking.
- Use Quality Ingredients – Opt for high-quality butter and fresh vanilla extract to enhance the flavor of your cookies.
- Measure Accurately – Ensure you measure your flour and powdered sugar correctly, as using too much can affect the texture of your cookies.
- Watch Baking Time – Keep a close eye on them while baking; overbaking can lead to dry cookies. Aim for a light golden bottom.
- Roll in Sugar Twice – For an extra sweet finish, roll the cooled cookies in powdered sugar again before serving.
Best Side Dishes for Christmas Snowball Cookies
Christmas Snowball Cookies pair wonderfully with various side dishes that complement their sweetness and festive spirit. Here are some great options:
- Fruit Platter – A colorful array of seasonal fruits balances out the sweetness of the cookies while adding freshness.
- Cheese Board – Include mild cheeses like cream cheese or brie alongside crackers for a savory contrast.
- Nuts and Dried Fruits – A mix of nuts and dried fruits provides a crunchy texture that pairs well with soft, sweet cookies.
- Ice Cream – Serve with vanilla or mint ice cream for a delightful dessert combination that feels luxurious.
- Yogurt Parfait – Layer yogurt with berries and granola for a refreshing side that offers creamy goodness next to sweet cookies.
- Chocolate Fondue – Provide melted chocolate for dipping pieces of fruit or cookie bites, creating an interactive dessert experience.
Common Mistakes to Avoid
When making Christmas Snowball Cookies, there are a few common mistakes you should watch out for to ensure perfect results.
- Using cold butter – Cold butter can make it hard to achieve a fluffy texture. Always use slightly softened butter for the best dough consistency.
- Packing powdered sugar – Packing the powdered sugar can alter the sweetness and texture of your cookies. Instead, lightly spoon it into the measuring cup for accuracy.
- Skipping the rolling step – Rolling your cookies in powdered sugar is essential for that signature snowball look. Don’t skip this step if you want them to look as festive as they taste!
- Not cooling properly – Allowing cookies to cool on the baking sheet can lead to sogginess. Cool them on a wire rack for a crispier finish.
- Baking too long – Overbaking can dry out your cookies. Keep an eye on them and remove them from the oven when they’re just slightly brown on the bottom.
Storage & Reheating Instructions
Refrigerator Storage
- Store in an airtight container for up to one week.
- Place parchment paper between layers to prevent sticking.
Freezing Christmas Snowball Cookies
- Freeze cookies in an airtight container for up to one month.
- Use wax paper between layers if stacking is necessary.
Reheating Christmas Snowball Cookies
- Oven – Preheat to 350°F (175°C) and heat for about 5-7 minutes.
- Microwave – Heat one cookie at a time in 10-second intervals until warm.
- Stovetop – Use a covered skillet on low heat, warming each cookie for 1-2 minutes.
Frequently Asked Questions
What are Christmas Snowball Cookies?
Christmas Snowball Cookies are festive treats made with butter, flour, and mini M&Ms, rolled in powdered sugar to resemble snowballs.
Can I customize my Christmas Snowball Cookies?
Absolutely! You can swap out M&Ms for chocolate chips or nuts based on your preferences.
How do I make these cookies gluten-free?
To make gluten-free Christmas Snowball Cookies, substitute all-purpose flour with a gluten-free flour blend.
How do I store leftover Christmas Snowball Cookies?
Store any leftovers in an airtight container at room temperature or refrigerate them for longer freshness.
Final Thoughts
These Christmas Snowball Cookies are not only simple to make but also incredibly versatile. Their festive appearance makes them perfect for holiday gatherings, and you can easily customize them with different colors of candy or add-ins. Give this delightful recipe a try and enjoy the sweet taste of the holidays!
Did You Enjoy Making This Recipe? Please rate this recipe with ⭐⭐⭐⭐⭐ or leave a comment.
📖 Recipe Card
Print
Christmas Snowball Cookies
- Total Time: 25 minutes
- Yield: Approximately 24 cookies 1x
Description
Christmas Snowball Cookies are a delightful holiday treat that brings joy to every gathering. These soft, buttery cookies are studded with colorful mini M&Ms and dusted with powdered sugar, resembling snowy delights. Not only are they visually appealing, but their easy preparation makes them perfect for baking with family or gifting to friends. The combination of sweet chocolate and a melt-in-your-mouth texture makes these cookies an irresistible addition to your festive celebrations. Whether enjoyed alongside a warm beverage or shared on a cookie platter, they’re sure to become a cherished holiday tradition.
Ingredients
- 1 cup unsalted butter (slightly softened)
- ½ cup powdered sugar
- 1 teaspoon vanilla extract
- 2 ¼ cups all-purpose flour
- ½ teaspoon salt
- 1 cup mini M&Ms (any color)
- Additional powdered sugar (for rolling)
Instructions
- Preheat your oven to 350°F (175°C) and line two cookie sheets with parchment paper.
- In a mixing bowl, beat the slightly softened butter, powdered sugar, and vanilla until fluffy.
- Gradually mix in the flour and salt until a cohesive dough forms. Stir in the mini M&Ms until evenly distributed.
- Using a cookie scoop, portion out balls of dough and place them on prepared sheets about 2 inches apart.
- Bake for 8–10 minutes or until the bottoms are lightly browned.
- Allow cookies to cool on the sheet for 5–10 minutes before rolling in powdered sugar and transferring to a wire rack to cool completely.
- Prep Time: 15 minutes
- Cook Time: 10 minutes
- Category: Dessert
- Method: Baking
- Cuisine: American
Nutrition
- Serving Size: 1 cookie (25g)
- Calories: 120
- Sugar: 6g
- Sodium: 40mg
- Fat: 7g
- Saturated Fat: 4g
- Unsaturated Fat: 3g
- Trans Fat: 0g
- Carbohydrates: 14g
- Fiber: <1g
- Protein: <1g
- Cholesterol: 20mg