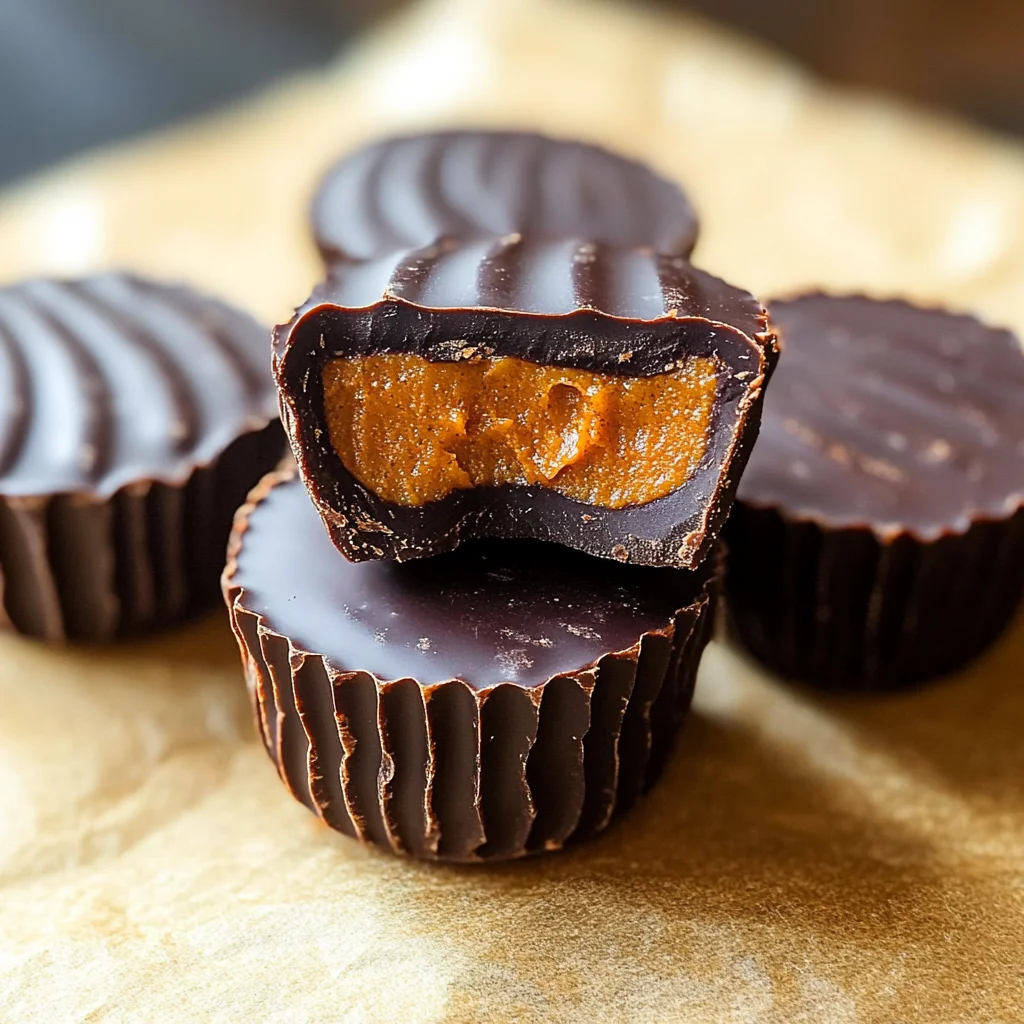
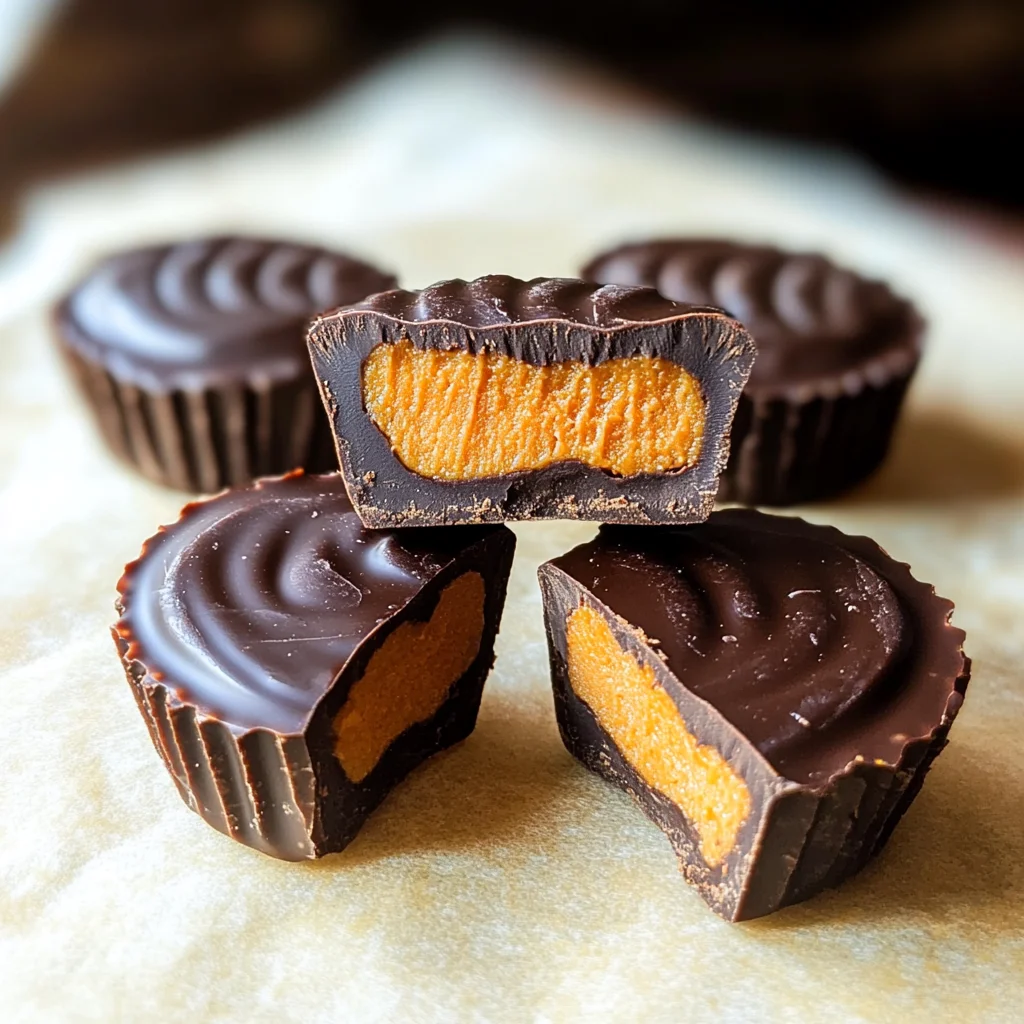
Chocolate Pumpkin Butter Cups are a fun and festive treat! The creamy pumpkin spice filling is sandwiched between dark chocolate to create the perfect bite every time. Plus, they’re lower in sugar and dairy-free! Perfect for parties, Halloween, or any time you crave a sweet and healthy snack, these Chocolate Pumpkin Butter Cups will impress everyone.

Jump to:
- Why You’ll Love This Recipe
- Tools and Preparation
- Essential Tools and Equipment
- Importance of Each Tool
- Ingredients
- For the Filling
- For the Chocolate Coating
- How to Make Chocolate Pumpkin Butter Cups
- Step 1: Prepare Your Muffin Tin
- Step 2: Make the Filling
- Step 3: Melt the Chocolate
- Step 4: Assemble the Cups
- Step 5: Chill and Set
- How to Serve Chocolate Pumpkin Butter Cups
- With Whipped Coconut Cream
- Drizzled with Caramel Sauce
- Paired with Fresh Fruit
- As a Fun Party Favor
- How to Perfect Chocolate Pumpkin Butter Cups
- Best Side Dishes for Chocolate Pumpkin Butter Cups
- Common Mistakes to Avoid
- Storage & Reheating Instructions
- Refrigerator Storage
- Freezing Chocolate Pumpkin Butter Cups
- Reheating Chocolate Pumpkin Butter Cups
- Frequently Asked Questions
- How do I make Chocolate Pumpkin Butter Cups dairy-free?
- Can I use other nut butters?
- What if I don’t have pumpkin spice?
- How many servings does this recipe yield?
- Final Thoughts
- 📖 Recipe Card
Why You’ll Love This Recipe
- Easy to Make: With just a few simple steps, you can whip up these delicious treats in no time.
- Flavorful Combination: The blend of pumpkin spice and rich chocolate creates a unique flavor that is both comforting and indulgent.
- Versatile Ingredients: You can easily customize the nut butter or sweetener to fit your taste preferences.
- Healthier Option: Lower in sugar and dairy-free, these cups are a guilt-free dessert choice.
- Perfect for Any Occasion: Whether it’s a holiday gathering or an everyday snack, these treats are sure to delight.
Tools and Preparation
To make Chocolate Pumpkin Butter Cups, you’ll need some essential tools. Having the right equipment makes the process smoother and more enjoyable.
Essential Tools and Equipment
- Muffin tin
- Silicone cupcake liners
- Mixing bowl
- Microwave-safe bowl
- Spoon or spatula
Importance of Each Tool
- Muffin tin: This is crucial for shaping your chocolate cups perfectly. It provides the structure needed to hold your delicious filling.
- Silicone cupcake liners: These make it easy to remove your cups once they’re set without sticking or breaking.
- Mixing bowl: A good-sized mixing bowl allows you to combine ingredients thoroughly without making a mess.
- Microwave-safe bowl: This is perfect for melting chocolate quickly and evenly, ensuring your cups have a smooth finish.
Ingredients
For the Filling
- 1/2 Cup Pumpkin Puree
- 1/3 Cup Almond Butter (Any nut butter will work! You can also use Sunbutter.)
- 2 Tablespoons Honey (You can also swap for maple syrup.)
- 2 Teaspoons Pumpkin Spice
For the Chocolate Coating
- 1 Cup Chocolate Chips
- 1 Tablespoon Coconut Oil
How to Make Chocolate Pumpkin Butter Cups
Step 1: Prepare Your Muffin Tin
Start by placing silicone cupcake liners in each cavity of your muffin tin. This will help with easy removal later.
Step 2: Make the Filling
In a mixing bowl, combine the pumpkin puree, almond butter, honey, and pumpkin spice. Stir until smooth and well mixed.
Step 3: Melt the Chocolate
In a microwave-safe bowl, combine chocolate chips and coconut oil. Microwave in 30-second intervals, stirring in between until melted and smooth.
Step 4: Assemble the Cups
- Pour a small amount of melted chocolate into each cupcake liner.
- Use the back of a spoon to spread it evenly across the bottom.
- Add about one tablespoon of the pumpkin filling on top of the chocolate layer.
- Finish by pouring more melted chocolate over the filling until it’s covered completely.
Step 5: Chill and Set
Place your muffin tin in the refrigerator for at least two hours or until fully set. Once hardened, carefully remove each cup from the silicon liners.
Enjoy your homemade Chocolate Pumpkin Butter Cups as a delightful treat any time of year!
How to Serve Chocolate Pumpkin Butter Cups
Chocolate Pumpkin Butter Cups are a delightful treat that can be enjoyed in various ways. These sweet bites are perfect for gatherings, snacks, or a cozy night in. Here are some serving suggestions to elevate your experience.
With Whipped Coconut Cream
- Top your Chocolate Pumpkin Butter Cups with a dollop of whipped coconut cream for added richness and a delightful contrast in texture.
Drizzled with Caramel Sauce
- A light drizzle of homemade or store-bought caramel sauce adds an extra layer of sweetness and makes these cups even more indulgent.
Paired with Fresh Fruit
- Serve alongside sliced apples or pears. The fresh fruit complements the creamy pumpkin filling beautifully and offers a refreshing crunch.
As a Fun Party Favor
- Package them in small boxes or bags as party favors. They make for a sweet treat that guests will love to take home!
How to Perfect Chocolate Pumpkin Butter Cups
To ensure your Chocolate Pumpkin Butter Cups turn out perfectly every time, follow these helpful tips.
- Use high-quality chocolate: Select dark chocolate chips that are dairy-free for the best flavor and smooth melting consistency.
- Chill thoroughly: Allow the butter cups to chill completely in the fridge before serving. This helps them set properly and enhances their structure.
- Experiment with nut butters: Feel free to try different nut butters like cashew or peanut butter for unique flavors that will complement the pumpkin spice.
- Adjust sweetness: Taste the filling before pouring it into molds, and adjust the sweetness according to your preference by adding more honey or maple syrup if needed.
Best Side Dishes for Chocolate Pumpkin Butter Cups
Chocolate Pumpkin Butter Cups can be paired with several delightful side dishes. Here are some ideas to enhance your dessert experience:
- Spiced Chai Tea
A warm cup of spiced chai tea balances the sweetness of the butter cups and provides comforting warmth on chilly days.
Pumpkin Soup
A creamy pumpkin soup makes for a seasonal pairing that ties in beautifully with the flavors of the Chocolate Pumpkin Butter Cups.
Mixed Green Salad
A light mixed green salad with a citrus vinaigrette offers a fresh contrast to the rich flavors of the dessert.
Cheesecake Bites
Serve mini cheesecake bites as an additional treat, providing a different texture that complements the creamy pumpkin filling.
Nutty Granola
Crunchy nutty granola adds texture and can be enjoyed on its own or sprinkled over yogurt as part of a dessert platter.
Coconut Macaroons
- These chewy treats echo the tropical notes from coconut oil, creating a delicious harmony with your chocolate cups.
Common Mistakes to Avoid
Making Chocolate Pumpkin Butter Cups can be easy, but a few common mistakes can affect the outcome. Here are some pitfalls to watch out for:
- Wrong nut butter choice: Using a nut butter with added sugars or flavors can alter the taste. Stick to natural almond butter or any unsweetened nut butter.
- Inaccurate measurement of pumpkin puree: Too much or too little pumpkin can change the texture. Always measure carefully for a creamy filling.
- Skipping the coconut oil: Coconut oil helps the chocolate set properly and gives it a nice sheen. Don’t skip this step; it’s essential!
- Overheating chocolate: Melting chocolate too quickly can cause it to seize. Use low heat and stir constantly for smooth chocolate coating.
- Not chilling enough: If you don’t chill the cups long enough, they may not hold their shape. Ensure they’re well-set before serving.
Storage & Reheating Instructions
Refrigerator Storage
- Store in an airtight container.
- They last up to a week in the fridge.
Freezing Chocolate Pumpkin Butter Cups
- Place in a freezer-safe container or bag.
- They can be frozen for up to two months.
Reheating Chocolate Pumpkin Butter Cups
- Oven: Preheat to 350°F (175°C) and warm for about 5-10 minutes.
- Microwave: Heat on low power for short intervals, checking frequently.
- Stovetop: Place in a skillet over low heat, stirring gently until warmed through.
Frequently Asked Questions
Here are some common questions about making Chocolate Pumpkin Butter Cups:
How do I make Chocolate Pumpkin Butter Cups dairy-free?
You can easily make them dairy-free by using dark chocolate chips that are labeled dairy-free and coconut oil for melting.
Can I use other nut butters?
Yes! Almond butter works great, but you can also use cashew butter, peanut butter, or even sunflower seed butter for a different flavor profile.
What if I don’t have pumpkin spice?
You can create your own blend using equal parts cinnamon, nutmeg, and ginger. This substitute will still give you that warm fall flavor.
How many servings does this recipe yield?
This recipe makes about 24 Chocolate Pumpkin Butter Cups. Perfect for sharing at gatherings or enjoying throughout the week!
Final Thoughts
Chocolate Pumpkin Butter Cups are not only delicious but also versatile! With their creamy filling and rich chocolate coating, they make a perfect treat for any occasion. Feel free to customize them by using different nut butters or adding extra spices to suit your taste. Enjoy making these delightful snacks!
Did You Enjoy Making This Recipe? Please rate this recipe with ⭐⭐⭐⭐⭐ or leave a comment.
📖 Recipe Card
Print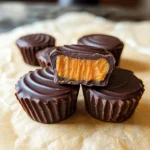
Chocolate Pumpkin Butter Cups
- Total Time: 25 minutes
- Yield: Approximately 24 servings 1x
Description
Indulge in the delightful taste of Chocolate Pumpkin Butter Cups, a festive treat that combines creamy pumpkin spice filling with rich dark chocolate. These guilt-free snacks are lower in sugar and completely dairy-free, making them a perfect choice for any occasion, from Halloween parties to cozy nights at home. With just a few simple ingredients and easy-to-follow steps, you’ll be able to impress your friends and family with these wholesome bites. Customize them to your liking by experimenting with different nut butters or sweeteners. Enjoy the warm flavors of fall wrapped in chocolate!
Ingredients
- 1/2 cup pumpkin puree
- 1/3 cup almond butter (or any nut butter)
- 2 tablespoons honey (or maple syrup)
- 2 teaspoons pumpkin spice
- 1 cup dairy-free chocolate chips
- 1 tablespoon coconut oil
Instructions
- Line a muffin tin with silicone cupcake liners.
- In a mixing bowl, combine pumpkin puree, almond butter, honey, and pumpkin spice until smooth.
- Melt chocolate chips and coconut oil in a microwave-safe bowl using 30-second intervals until smooth.
- Pour melted chocolate into the liners, spreading it evenly across the bottom.
- Add one tablespoon of the pumpkin filling on top of the chocolate layer.
- Cover the filling completely with more melted chocolate.
- Refrigerate for at least two hours until set, then carefully remove from liners.
- Prep Time: 15 minutes
- Cook Time: 10 minutes
- Category: Dessert
- Method: No-bake
- Cuisine: American
Nutrition
- Serving Size: 1 serving
- Calories: 115
- Sugar: 4g
- Sodium: 25mg
- Fat: 8g
- Saturated Fat: 3g
- Unsaturated Fat: 5g
- Trans Fat: 0g
- Carbohydrates: 9g
- Fiber: 2g
- Protein: 3g
- Cholesterol: 0mg